Web access to TRS instance
Besides RSclient, the instance can be accessed through the web interface. Using url <IP address or hostname>: <port number (default 8888)>/trs/ navigate to:
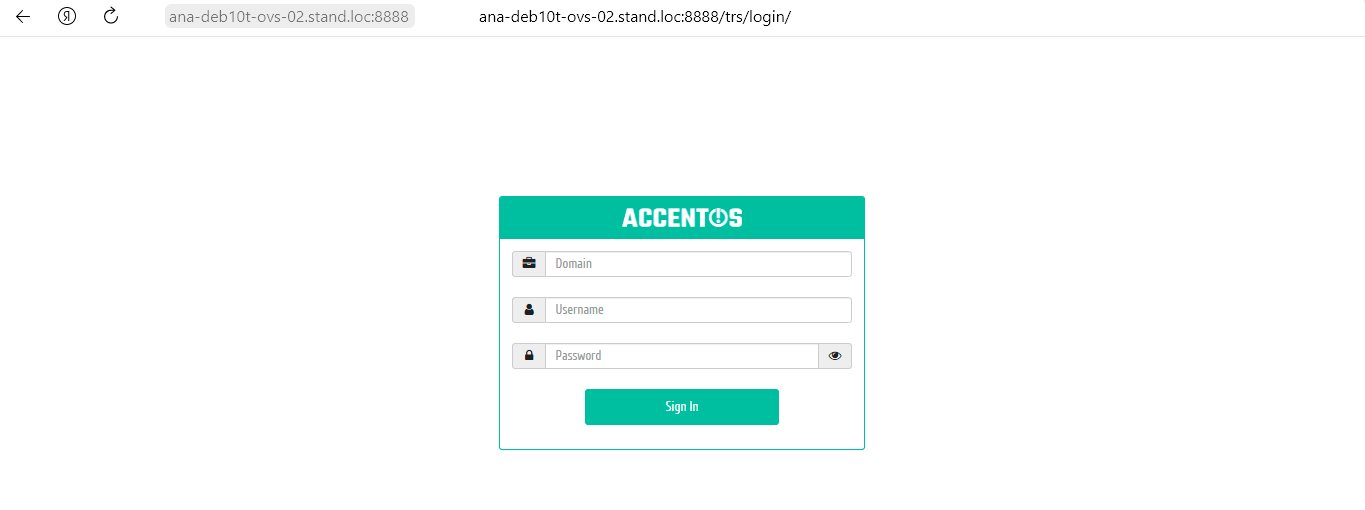
Web interface to access instance
In the window that opens, enter the domain name and your credentials, then log in to the application.
If two-factor authentication is configured for the user, then for authorization it is also necessary to enter a verification code, which, depending on the settings, can be got by email, via Telegram or in a third-party application (for example Google Authenticator):
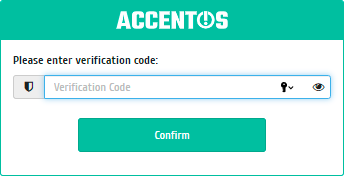
Confirmation code entry window
If the connection is successful, list of available TRS instances will be displayed, if they are absent, a new one will be created:
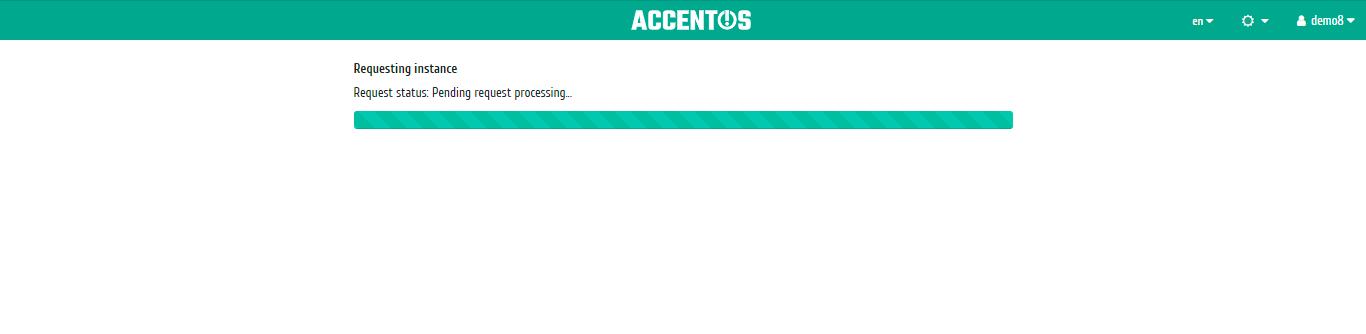
Creation of TRS instance
Note
Features of connection to TRS instance:
By default, TRS instances are displayed with statuses: “Active”, “On pause”, “Disabled” and “In error”. The instance must be assigned to this user or the user group to which he is included. If there are several instances, then a list of all available TRS instances for connection is displayed.
Description of the behavior of TRS instance after connection:
Status upon connection Status after connection «Active» Instance state does not change. «Paused» Unpausing instance, transition to state «Active». «Shutoff» Starting instance, transition to state «Active». «Error» Starting new instance with status «Active» and automatic assignment to the user. If there are no TRS instances available in the domain to which the user is connecting, a new instance will be launched and automatically assigned to the user.
If in the domain to which the user is connected, there are no available TRS instances that are assigned to this user, but there is instance that is not assigned to anyone, then this instance is automatically assigned to this user. The backup instance will be started instead.
If there are no TRS instances with statuses «Active», «Paused», «Shutoff» available in the domain to which the user is connecting, but there are instances with statuses «Shelved Offloaded» and «Suspended», a new instance will be launched and automatically assigned to the user.
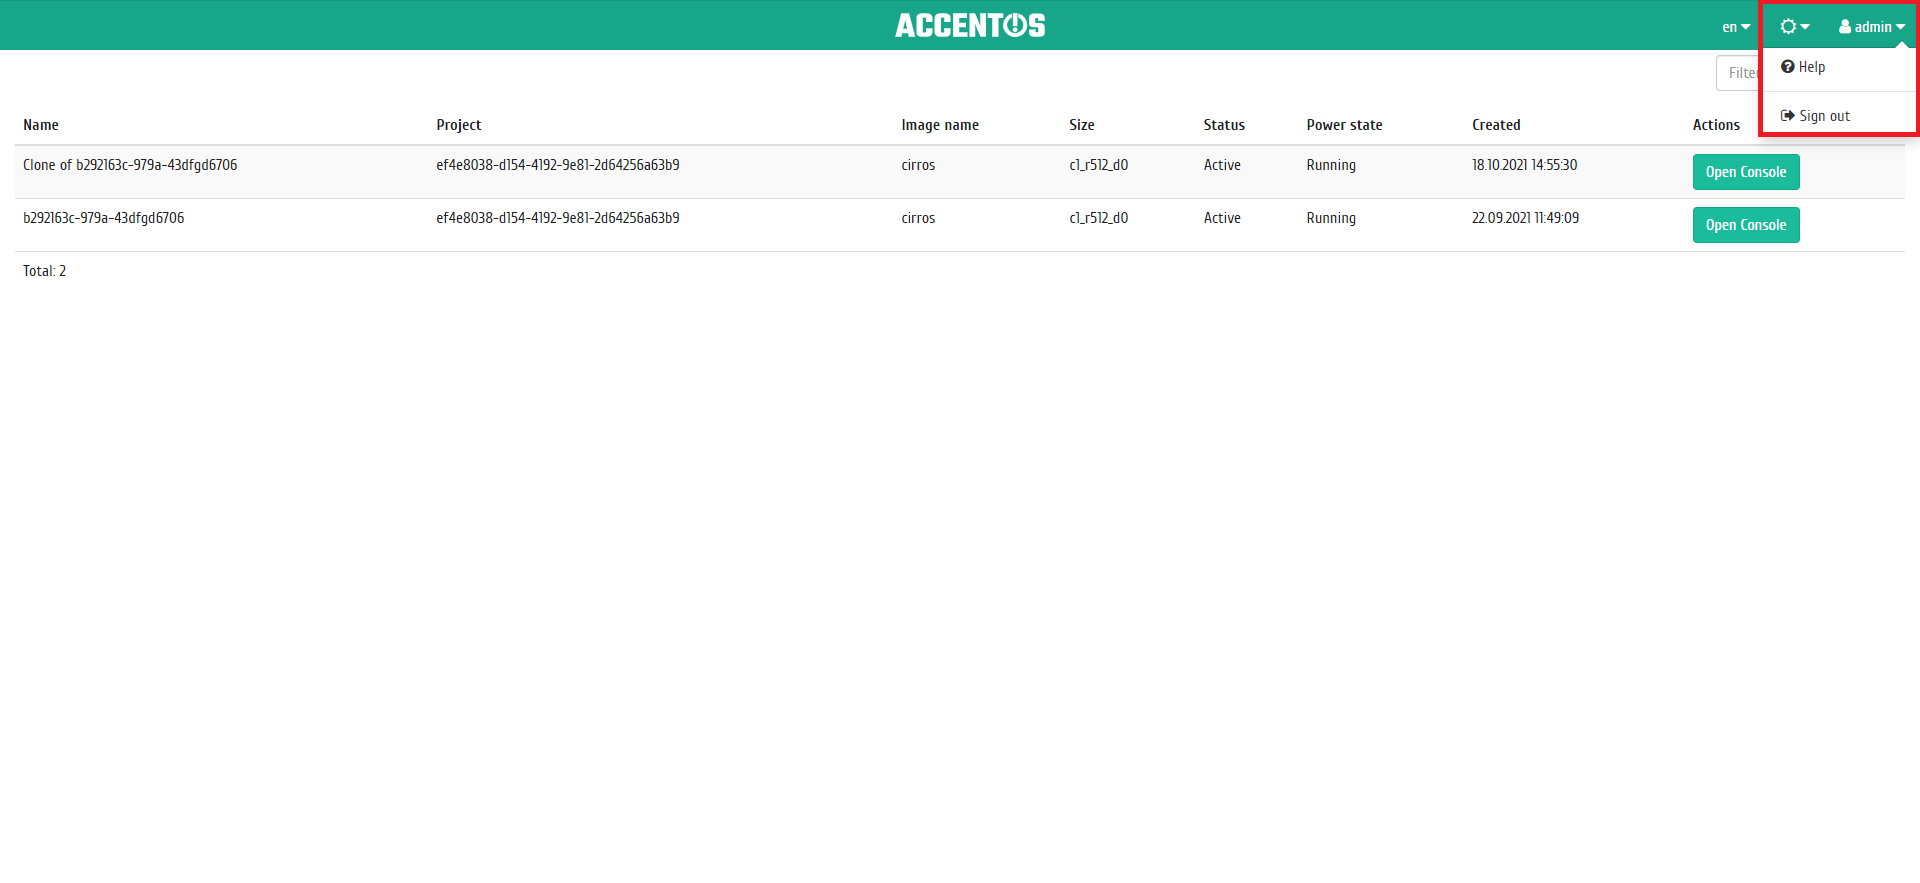
General list displays TRS instances of all projects available to the user:

Instances list
| Field name | Description |
|---|---|
| Name | Instance name assigned by the user when creating. |
| Project | Project to which the TRS instance belongs. |
| Image name | TRS instance image name. |
| Size | Flavor of TRS instance is set at creation and can be changed by the user using the command to resize the instance. |
| Status | Instance state as determined by OpenStack services. |
| Power State | TRS instance power state. |
| Created | Date and time of TRS instance creation. |
To open the console, select the required TRS instance and click “Open Console”:

Instance console
The console is also displayed in full-screen mode, to switch to it, use the “Full-screen” function:

Instance console window
Use “Compact View” to return to compact mode.
The end of the working session is carried out by the button “Sign out”. After entering the database, a corresponding entry with the exact time of the shutdown will occur. For a detailed view of all your sessions in the Dashboard module, go to the tab TRS/TRS instances/TRS Instance details/Sessions.
Control Panel
Application is controlled on the main panel, where general list of instances is displayed:
Control Panel
There is also a switch that allows to quickly change the language of the control panel on the top. Russian and English languages are available for selection.
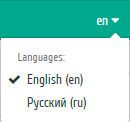
Selecting interface language on the top panel
There is also a switch that allows to change color sheme of interface.
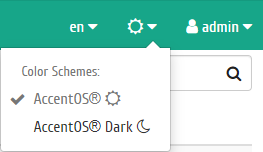
Selecting interface color sheme on the top panel
Note
“Help” item allows to refer to this section of the documentation for help.