Working in the personal account of the RemoteApp module
After authorization in the module, the main interface window will open:
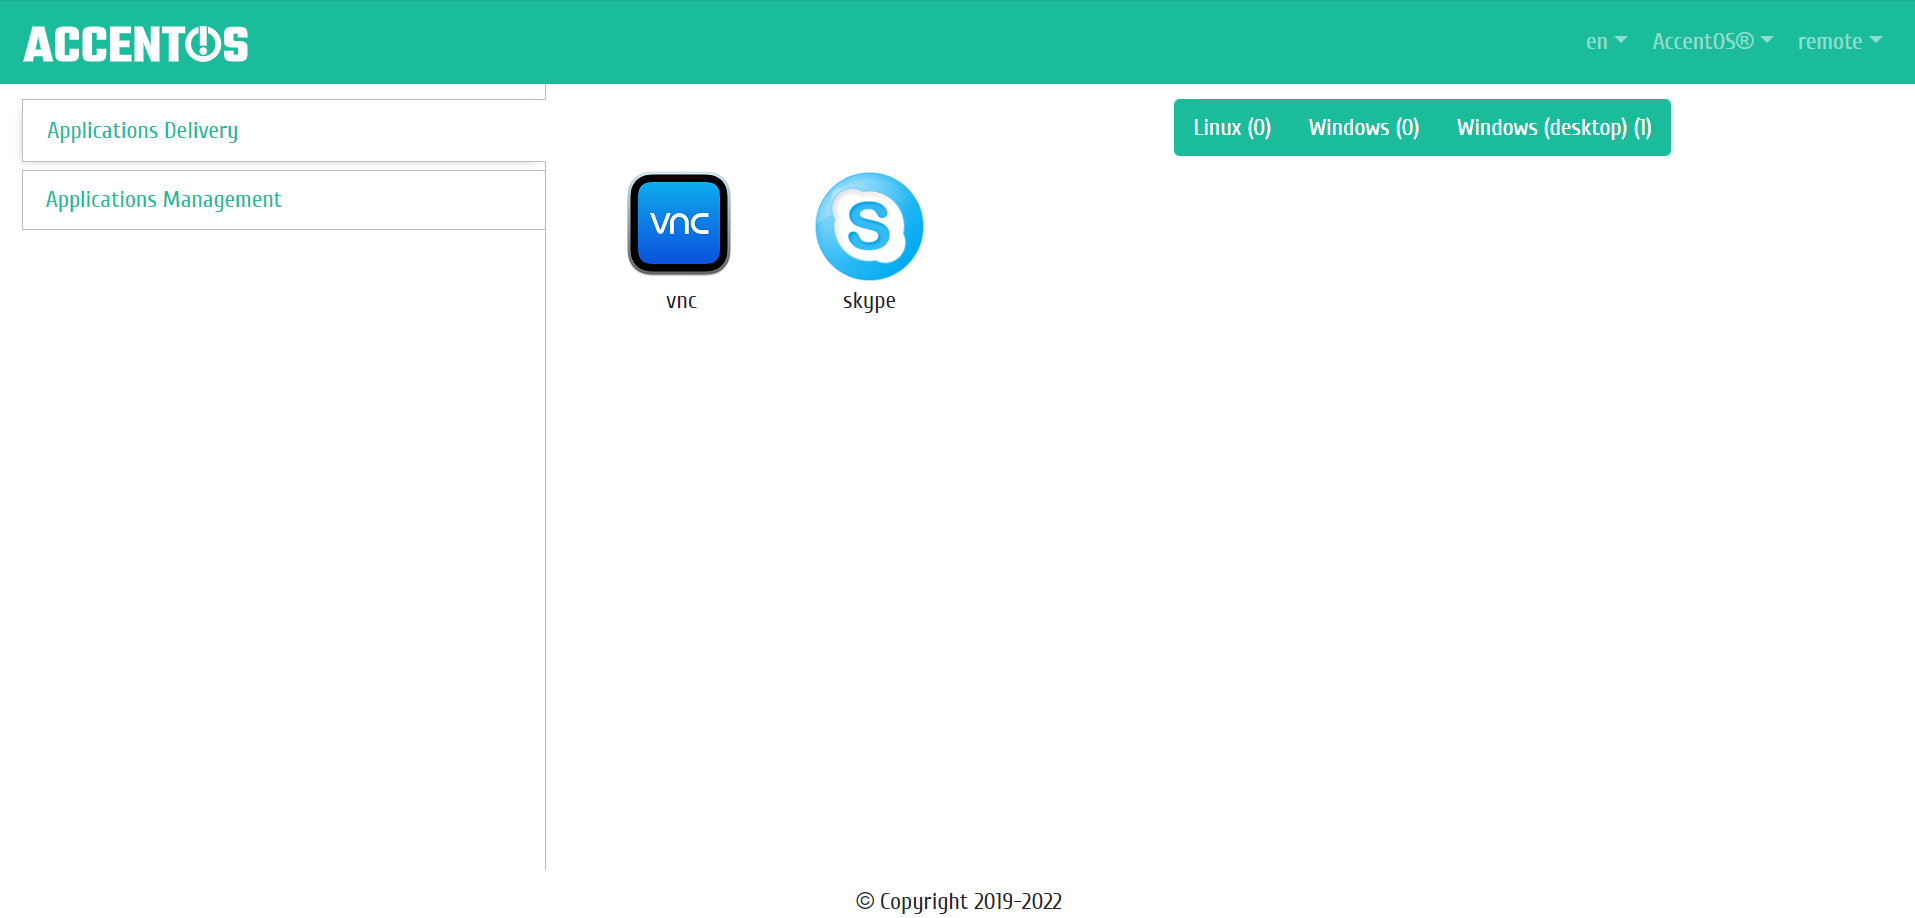
Personal account window
Below is the working field of the module.
On the top panel, on the right side, there is a switch that allows to quickly change the language of the control panel. Russian and English languages are available for selection.
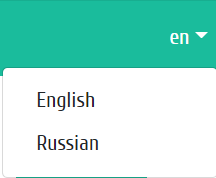
Selecting the interface language on the top panel
There is a switch that allows to change the color scheme of the interface theme, you can choose between the standard color scheme and dark. The dark color scheme is designed to work with the interface in low light conditions.
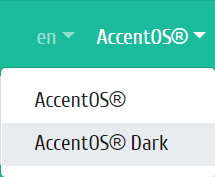
Selecting the color scheme of the interface on the top panel
In the upper left part of the window, the operating mode of the module is displayed: Application Delivery or Publishing application (this operating mode is available only for administrator). To change the operating mode, press the button with the mode name.
Application Delivery tab
This mode is designed for a standard user to work with applications. To get applications, you need to log in under OpenStack user account (the user must have access to a project with instances and applications). Icons of all applications available to the user (added to the project) are displayed in the central part of the working field.
It is possible to filter applications by type: Linux, Windows, Windows (desktop).
When you click on the application icon, connection to the application is made via RDP protocol:
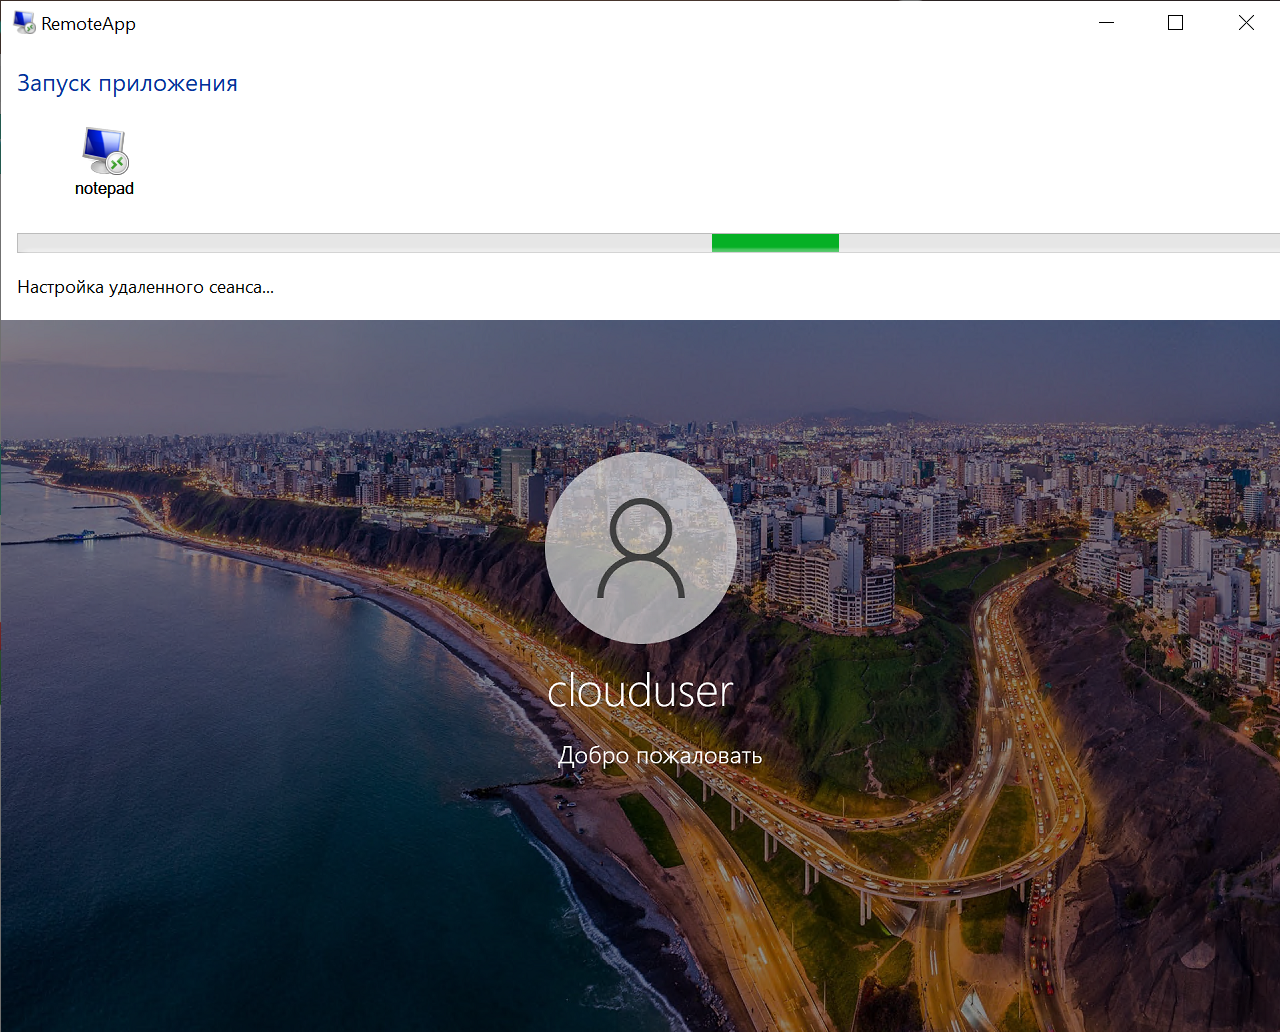
Сonnection window
When connecting, login window opens to connect to remote application:
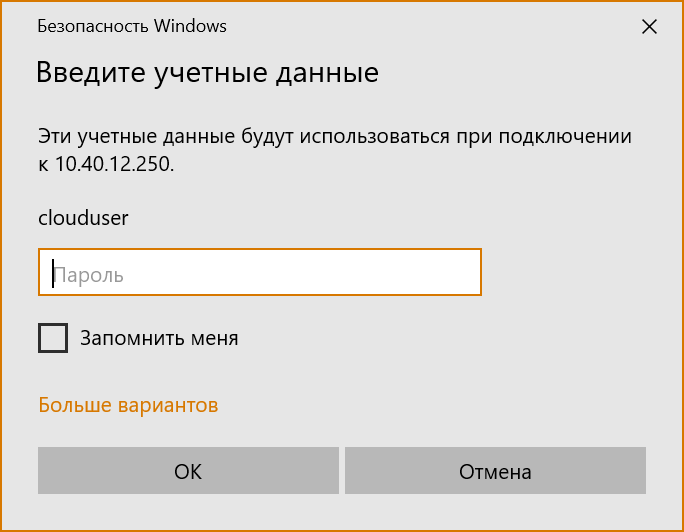
Login window
After connecting, the window of the called application opens, for example, browser Google Chrome:
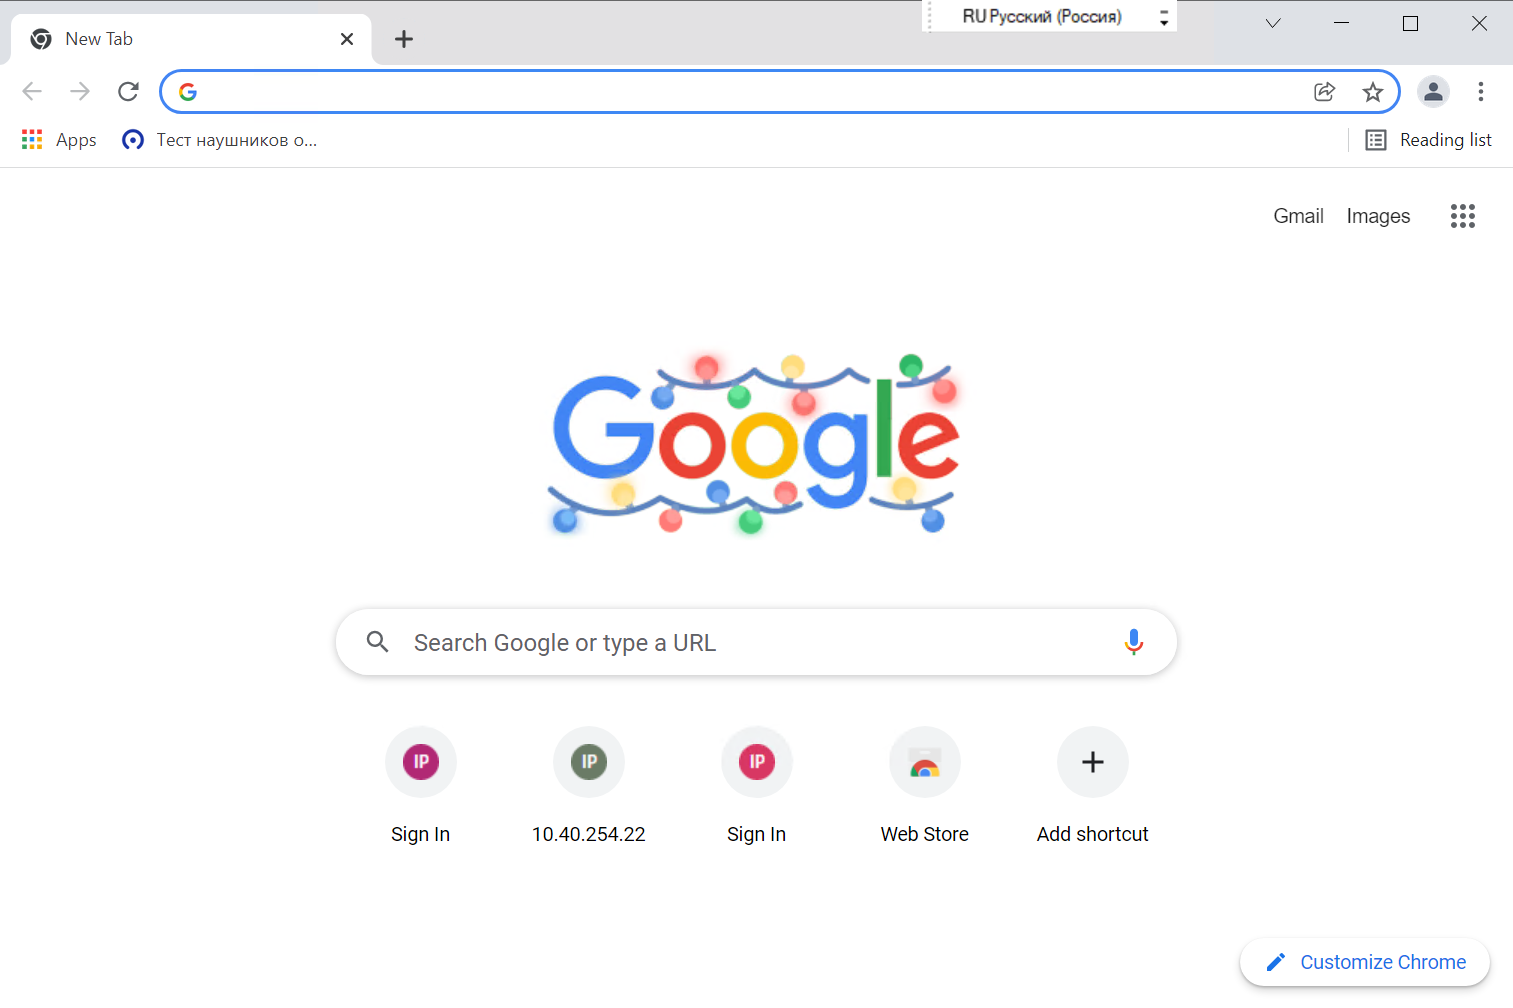
Application window
To exit the personal account of the RemoteApp module, click the button “Logout”.
Publishing application tab
Note
This mode allows to create and register applications, the mode is available only for the remote user, therefore, you must first create remote user with administrator rights in OpenStack.
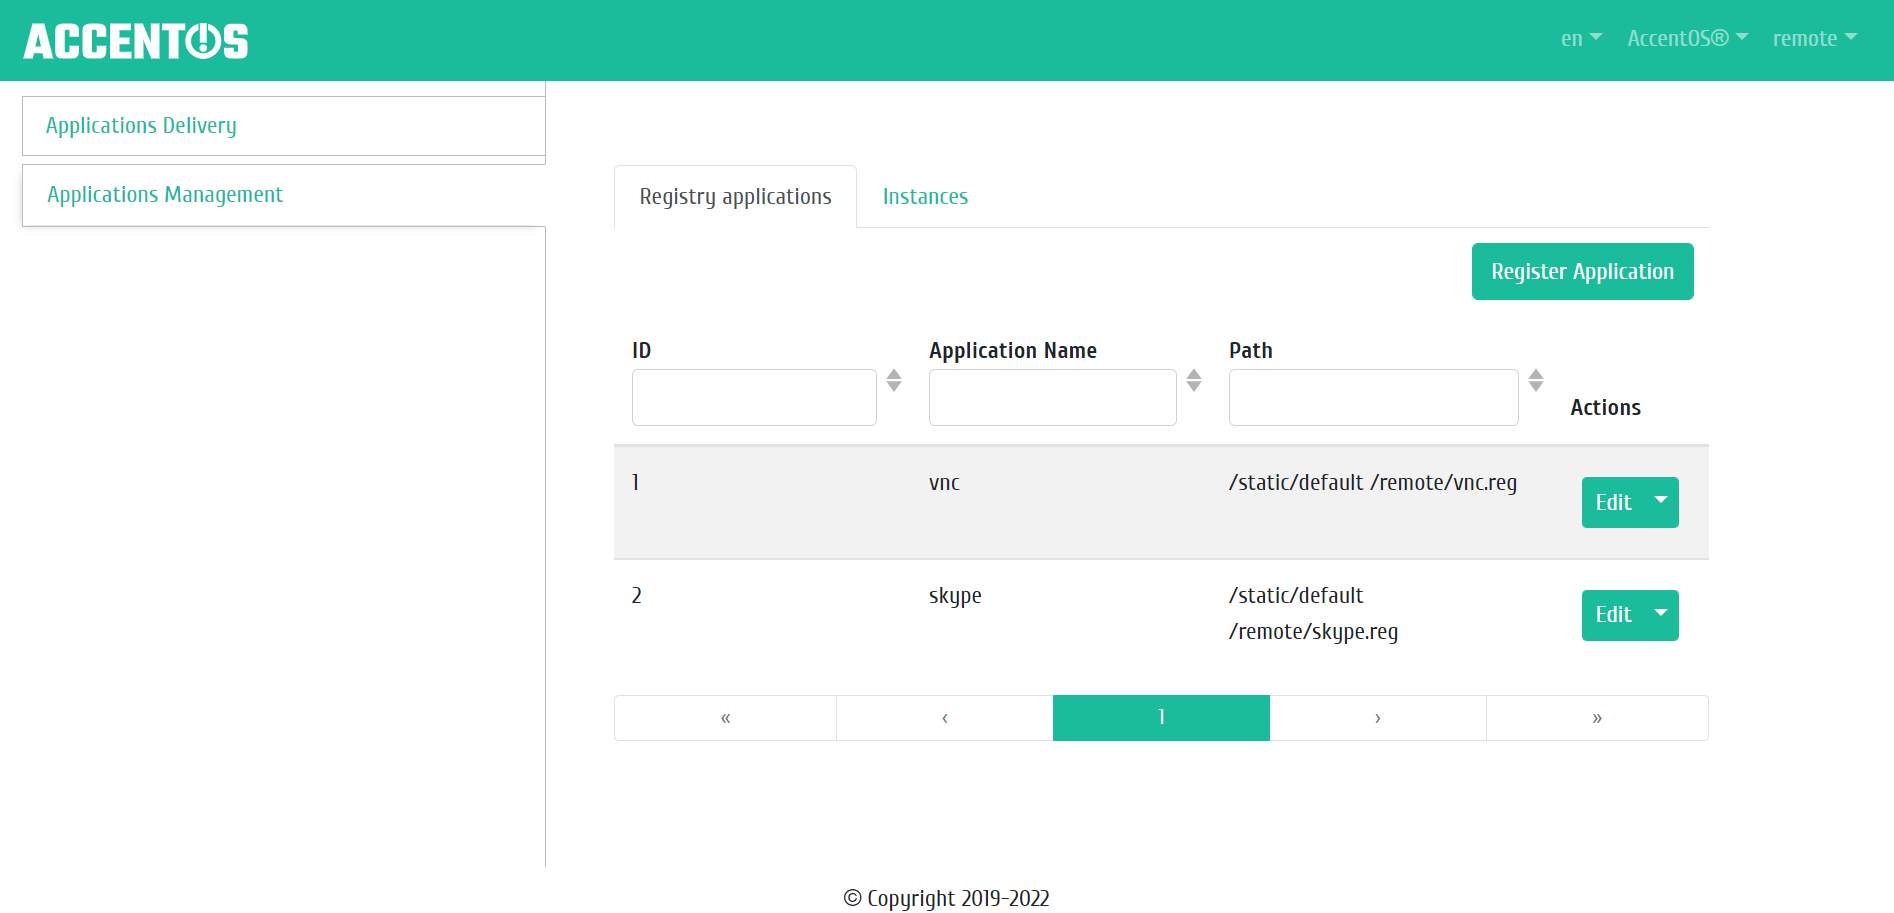
The Application Management tab has two internal tabs: Application Registration and Instances.
Publishing application mode
| Field name | Description |
|---|---|
| ID | Application ID. |
| Application Name | Application Name. |
| Path | The path to the application file on the system.. |
Sorting and filtering tools are available for the application list. Sorting and filtering are available for all fields.
| N | Action | Description |
|---|---|---|
| 1 | Register Aplication | Creation a new application. |
| 2 | Downloads | Loading the application’s .reg file. |
| 3 | Edit | Changing application settings. |
| 4 | Delete | Deleting an app. |
Application creation
To create an application, click on the “Registration” button and open the application creation form:
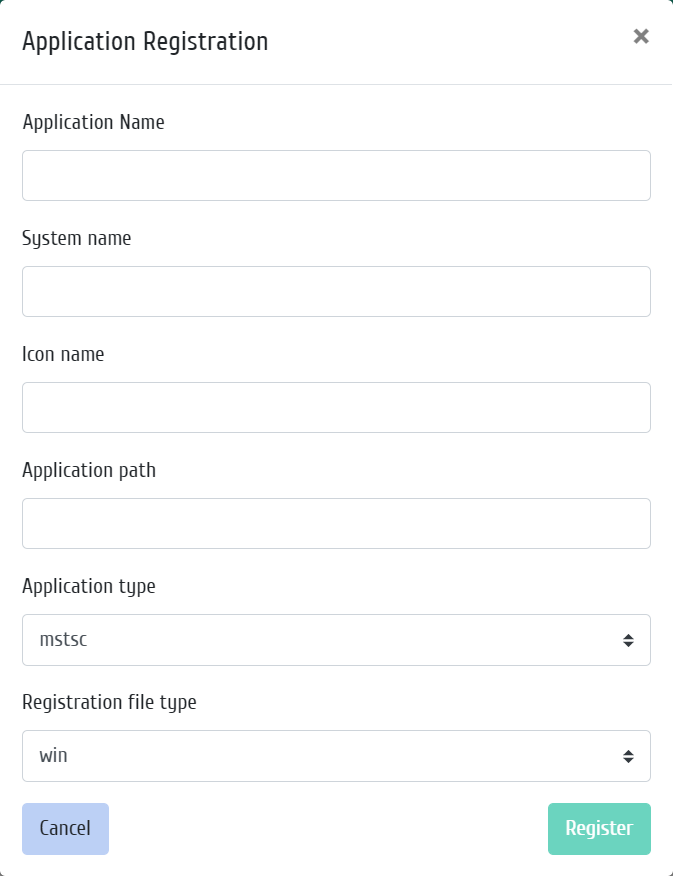
Application creation window
Fill in required fields of the creation form:
Application Nameis application name in free form;System Nameis application name in the system (for example, skype);Icon nameis application icon name (for example, Skype);Application pathis path to the application in the system (for example, C:pathskype.exe);Application typeis the type of application to be delivered. Types are registered after the application is installed. Currently there is only one typemstsc;Registration File Typeis the type of application registration file to be delivered. Types are registered after the application is installed. Currently there is only one typewin.
After registration, the added application will be displayed in the list.
Application editing
To change the application parameters, click on the “Edit” button and open the application editing form:
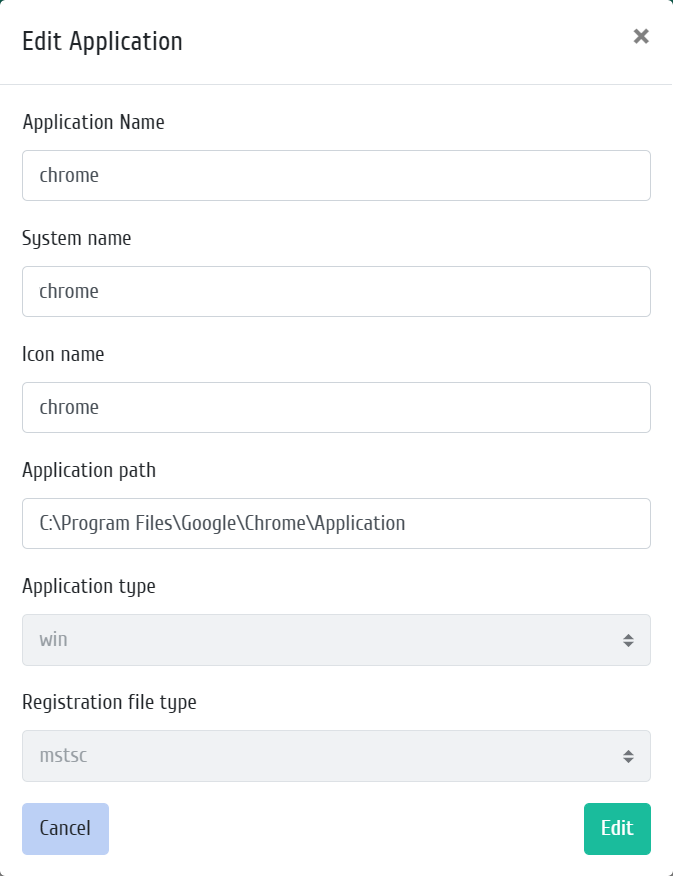
Application editing window
Change application settings if necessary:
Application Nameis application name in free form;System Nameis application name in the system (for example, skype);Icon nameis application icon name (for example, Skype);Application pathis path to the application in the system (for example, C:pathskype.exe).
Для сохранения изменений нажимает на кнопку “Редактировать”.
Binding a Registered Application to the Instance
To bind the application, go to the “Instances” tab:

Instances list
| Field name | Description |
|---|---|
| ID | Instance ID. |
| Instance name | Instance name. |
| IP address | IP address of instance. |
| List of applications | Apps bound to the instance. |
Sorting and filtering tools are available for the instance list. Sorting and filtering are available for all fields.
| N | Action | Description |
|---|---|---|
| 1 | Attach application | Binding a registered application to a selected instance. |
Select the instance to which you want to bind the registered application, and open the “Attach application” action window:
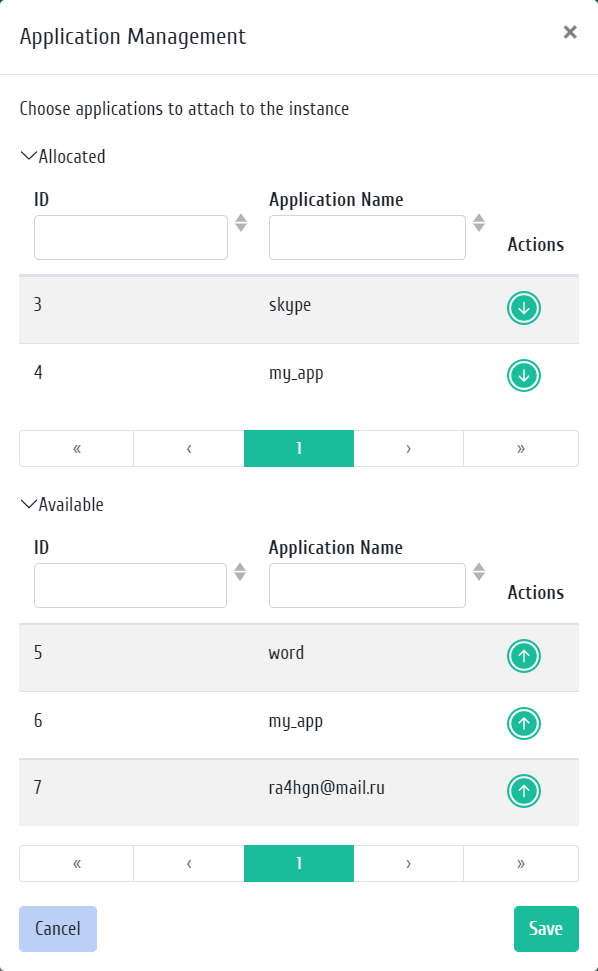
Window for binding an application to instance
In the window that opens, select the application to bind to the instance, confirm the binding by clicking on the “Save” button.
To exit the personal account of RemoteApp module, click the button “Logout”.