Authorization in RSclient application
Authorization in RSclient no graphical interface
When starting RSclient with the --no-ui parameter without a graphical interface, the authorization data are specified as arguments --username USERNAME, --password PASSWORD, --project PROJECT, --domain DOMAIN, --server-uri SERVER_URI. In addition, addresses of primary and secondary servers, as well as name of the domain to which the connection is made, can be specified in RSclient configuration file. However, using the arguments of the console command takes precedence.
“SSO” flag enables the use of the SSO single sign-on technology.
GUI authorization without smart card
When working in RSclient graphical interface without smart card after starting the application, main window of client opens:
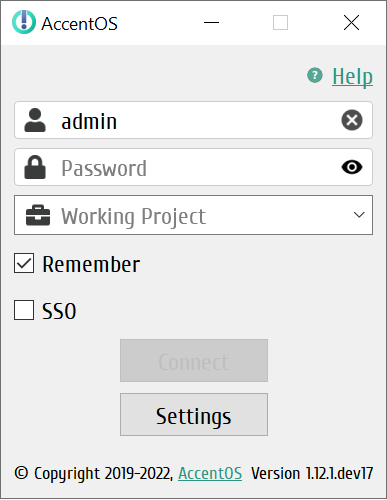
main window of RSclient
It’s need to specify user credentials on the server to which the connection will be made: login and password, in the input fields of the main window for authorization in the client. “Working Project” field is optional. If name of project is not specified, one of available projects of the user’s domain will be randomly selected, of which this user is a member. If the authorization data were not specified in full or incorrectly, the application will inform of an error. If user who connects is not a member of any TRS project, a corresponding message will also appear.
Note
When using SSO technology, be sure to specify the TRS project.
Important
To getting authorization files, you must make the settings described in the Dashboard documentation.
For each project in which you plan to work with SSO, you need to get authorization data files and place them in the .rsclient directory.
If two-factor authentication is configured for this user, after entering the login and password, a window for entering a verification code will open, which, depending on the settings, can be received of user by email, via Telegram or in a third party application (for example Google Authenticator).
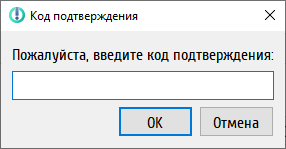
Window for entering a verification code
Authorization using smart card
Important
Functional is available only for Linux systems.
When the RSclient application is launched, a window for entering the smart card PIN code opens:
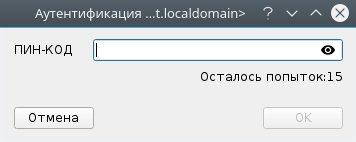
Window for entering the PIN code
If PIN code is entered correctly and authentication is successful smart card and if necessary credentials are present in the configuration file and on the smart card, working session is started. If credentials are incorrect, a corresponding message appears, and then window for changing the password opens. The password change form, in addition to the current and new password input fields, contains the username and information about the reason for the password change:
- Saved password was not found, please enter new password;
- Password is invalid, please enter new password;
- Update old or temporary password;
- Your password will expire soon, please change it;
- Your password will expire in N seconds, please change it;
- Your password has expired, M login attempts left.
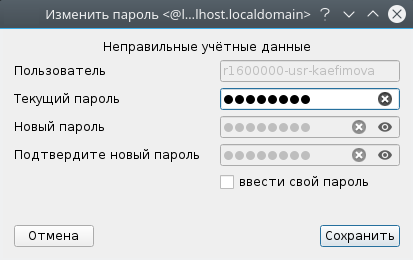
Example of password change window
Save the new authentication data with “Save” button.
Note
When you click on the “Cancel” button in the PIN input window, smart cards authentication does not occur and RSclient is not launched.
After message about successful password change appears:
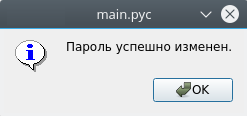
Window with successful password change message
Connect using new credentials.
Note
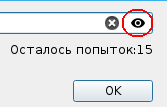
Number of input incorrect PIN code attempts is limited, pay attention to number attempts indicator!
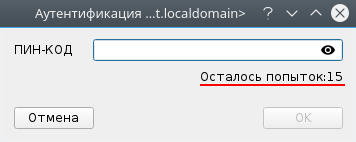
Window of attempts number
After all attempts to enter the PIN code have expired smart card is blocked. After that, the connection can still be made, but without using smart card data. To do this, click «Continue».
If it was not possible to get remaining number of attempts, a question mark is displayed instead of the number in PIN input window:
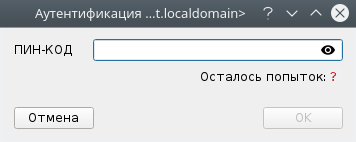
Window of attempts number
